
This procedure assumes that the firearm has already been cleared (background checks, waiting periods, etc.).
From POS, with your cursor in the Item (SKU) field, select No Sale Menu option M-AIMI Firearm Import. A dialog box of all AIMI transactions eligible for import displays. An eligible transaction is one marked in the AIMI system with a status that matches those you defined in option 1406.
Use one of the following methods to add a firearm item from the AIMI interface to the transaction:
Check the box(es) of the transactions you wish to post, and press OK.
Enter a firearm SKU / Item number. The AIMI interface automatically displays any items in the export directory that match that SKU, regardless of status.
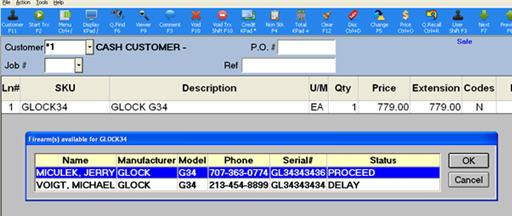
The selected item(s) posts to the grid. You should see additional description lines for serial number, manufacturer, and model. Notice that the “ship to” name and address information is updated on the header screen. The “short id” field contains the customer's phone number.
Complete the POS transaction as you normally would.