(ITR users only)
You have the option to assign a reason code to the lost sale records in ITR. From a list of reason codes, you can select a reason that applies to the ITR record. ITR records display in a grid, so like other grid views, you can sort and group the records by reason codes. Create and maintain the list of codes in Options Configuration.
Click either of the following to go to the procedure steps:
Display the Options Configuration window. To do this, from the Eagle browser, click Applications and then click System Management Menu. Click Options Configuration Menu and then click Options Configuration.
Set Subsystem to All and set Options to System Options. Click Display. Double-click the Description column header to sort the descriptions in alphabetical order.
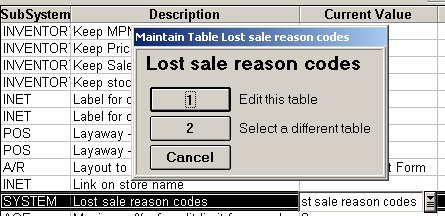
Scroll until you locate the description "Lost sale reason codes." Click the Current Value field for that option. Click the down arrow to display the following dialog.
Click 1-Edit this table to display a dialog similar to the following:
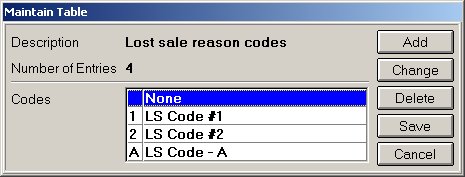
To add a new reason code, click Add to display the Add Row To Table dialog. In the Code field, type a letter or number to identify this code. At Description, type a description for the code. Click OK. If you have more codes to add, repeat this step. When you are done adding new codes, click Save.
To delete a reason code, click to highlight the code you want to delete. Click Delete. In the Confirm dialog, click Yes. If you have more codes to delete, repeat this step. When you are done deleting codes, click Save.
To change a reason code description, click to highlight the code you want to change. Click Change. In the Change dialog, type a new description. Click OK. If you have more codes to change, repeat this step. When you are done changing codes, click Save.
Display the Inventory Transaction Register. To do this, from the Eagle browser, click Applications, click Inventory Menu and then click Inventory Transaction Register (ITR).
At SKU, type the SKU and click Display.
Locate the lost sale entry to which you want to assign a reason code. (Optional) Double-click the Category column header to group the ITR records by category, then all the lost sale entries (which have a Category of "Lost Sale") will be grouped together.
Click the entry to highlight it. Click the Sub-Source field. Click the down arrow to display the Enter Reason Code dialog. From the list of codes, click to highlight the correct code. Click OK. The dialog closes.
Click Change. Click OK.