(Document Scanning users)
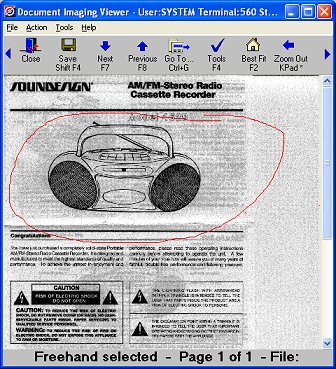
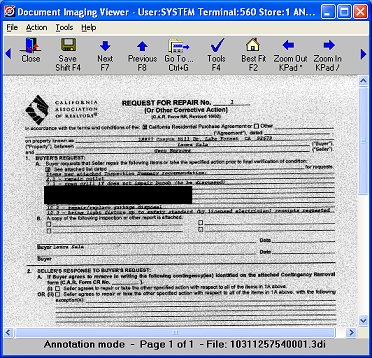
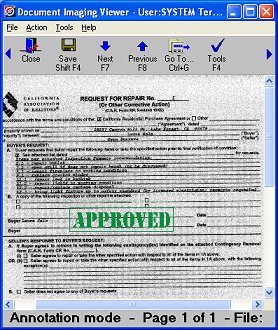
Via the Document Imaging Viewer, you can annotate scanned documents or imported TIF files (no other type of imported files can be annotated). The annotation tool set includes freehand drawing, highlights, boxes, redact (hides any part of the document), sticky note (looks like a Post-It note), stamped text, and free text.
Display the document you want to annotate in the Document Imaging Viewer.
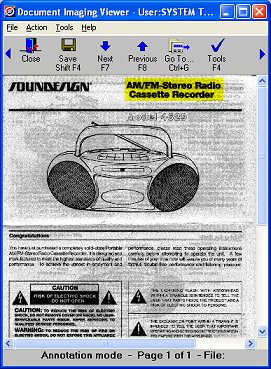
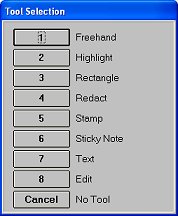
Click Tools (F4). The Tool Selection dialog displays.
For more information about the various annotation tools, click any of the following:
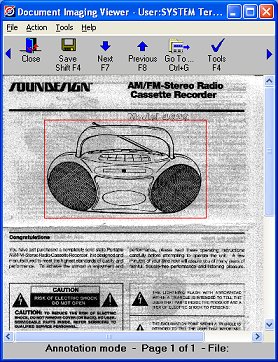
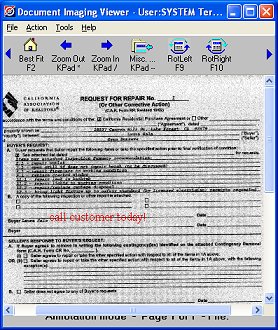
To modify annotations, do any of the following, as needed:
To undo an annotation you just created, click Control-Z.
To edit an annotation, select Edit from the Tool Selection dialog. Then double-click on the annotation you want to edit and make your changes.
To resize an annotation, drag a sizing handle until the annotation reaches the desired size.
To move an annotation, place your cursor inside the annotation until it becomes a four-direction arrow, then click and hold the left mouse button and drag the annotation to the desired location.
To delete an annotation, select Edit from the Tool Selection dialog. Then click on the annotation you want to delete (sizing handles will display), and press Delete on your keyboard.
Click Save (Shift F4) to save your annotations and/or any modifications you made.