While selecting vouchers for payment, you can indicate that you want the Voucher Reference to print on particular checks. The following procedure explains how.
From the Eagle Browser, click Accounts Payable Menu, then click Selecting, Paying, and Adjusting Invoices (APMU).
When the APMU window opens, make sure that the “Reference” and “Print Reference” columns are in view. If they are not, place your cursor on any column heading, right click, and choose Select Columns to View. When the list of columns displays, click the box next to both Reference and Print Reference, then click OK.
To select individual checks on which you want the Voucher Reference to print, highlight the appropriate voucher, and click Print Ref (or use the KPad/ key). The “Print Reference” field will now contain a “Y.”
To select more than one voucher at a time, click the checkbox next to all the relevant vouchers, and then click Print Ref (or use the KPad/ key). The “Print Reference” field will now contain a “Y” for all the vouchers you selected.
If you have previously selected a voucher(s) to print a reference and then later wish to remove the selection(s), click the checkbox next to the voucher(s) you want to de-select, and click Print Ref. The “Y” in the “Print Reference” field is removed on the voucher(s) you selected.
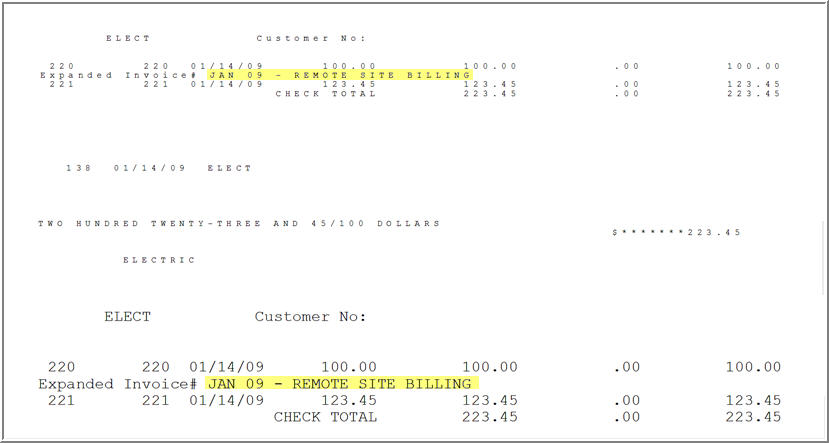
When A/P checks are printed, the reference information will be included on the check and stub. Below is a sample check.