Before you begin using the Accounts Payable application, you must first enter your accounts payable options. The options you choose affect how you use the application.
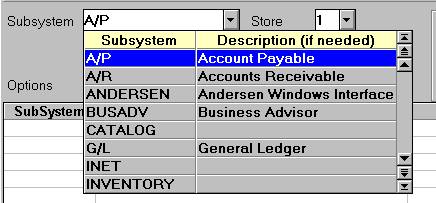
Click the arrow to the right of the Subsystem box and select A/P from the drop-down list.
Click the arrow to the right of the Options box and select All Options from the drop-down list.
Click Display. All of the Accounts Payable options display in the grid.
For a detailed explanation of each item in the grid, click here.
Click in the Current Value column of the first item in the grid (# AGE DAYS IN PERIOD 1).
Click the arrow that displays.
Select your response in the window that displays, and press ENTER.
Note: For any items in the grid that cannot be changed, "No" displays in the "Edit?" column.
For a definition of each option in the grid, click here.
Repeat steps 5 through 7 for the rest of the items in the grid.
Click Change.
Multistore: if you use multiple Accounts Payable directories, click in the Store box, enter the next store number, and repeat steps 4 through 10.