Create or Clear Alternate Vendors (CAV)
Use the Create Or Clear Alternate Vendors (CAV) utility to create
alternate vendors or purge alternate vendors for a range of inventory
items. You must have security bit 235 “Add/Change/Delete
inventory alternate vendor information (access CAV).”
- From the Eagle Browser,
type CAV in the Launch bar, and press Enter. Alternatively, you can
click Inventory Menu, and then click Create or Clear Alternate Vendors
(CAV).
- From the Print Setup page,
review the default entries in the fields and make changes if needed.
- Click
 .
.
- If you want to add items'
existing Primary or Manufacture Vendors as an alternate vendor for
the range of inventory items selected, use option C “Create Alternate
Vendors.” You must enter the vendor code you want added as the alternate
vendor in the ‘From Alternate Vendor’ and ‘To Alternate Vendor’ fields
on the From/To page. For each item matching the other selection
criteria, the system checks to see if the value in the from/to alternate
vendor matches the item’s Primary Vendor. If it does, then it
is added as an Alternate Vendor for that item, using the Order Multiple
as the Alternate Vendor’s Order Multiple. If the value in the
from/to alternate vendor doesn’t match the item’s Primary Vendor but
does match the item’s Manufacture, then it will be added as an Alternate
Vendor for that item using the Standard Pack as the Alternate Vendor’s
Order Multiple.
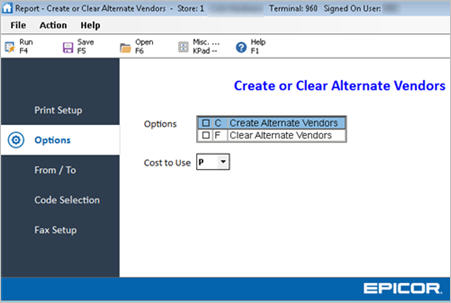
- In the "Cost to Use’"field,
select the cost you want to use for this new Alternate Vendor.
- To remove an alternate vendor
from the items in the selected range of inventory items, use option
F “Clear Alternate Vendors.” When using option F, you must enter a
from/to alternate vendor and that vendor is no longer associated as
an alternate vendor on the items in the selected range of inventory
items.

Running
CAV without option C or F prints an information-only report showing the
alternate vendor information for the selected range of inventory items.
- Click
 .
A page of fields displays.
.
A page of fields displays.
- If you are using option
C, you must enter the vendor code you want to add as the alternate
vendor in the ‘From Alternate Vendor’ and ‘To Alternate Vendor’ fields.
- If you are using option
F, you must enter an Alternate vendor in the "From Alternate
Vendor’ and ‘To Alternate Vendor’ fields, so that vendor is no longer
associated as an alternate vendor on the items in the selected range
of inventory items.
- (Optional) Click
 . A page of fields displays. Fill in the
desired fields to include or exclude groups of items.
. A page of fields displays. Fill in the
desired fields to include or exclude groups of items.
- (Optional) Click
 . A page of fields displays. Fill
in the fields if you want to fax the report.
. A page of fields displays. Fill
in the fields if you want to fax the report.
- Click
Run to run the report.