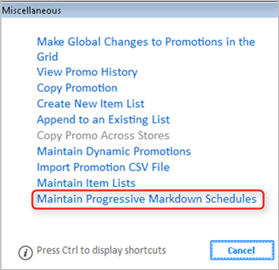
Click Misc, and select Maintain Progressive Markdown Schedules.
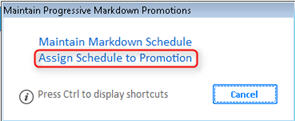
Click 2-Assign Schedule to Promotion.
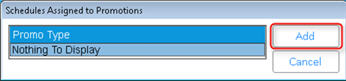
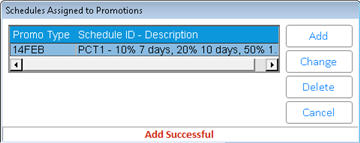
In the Schedules Assigned to Promotions dialog, click Add.
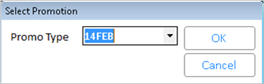
From the drop-down list in the Select Promotion dialog, select the promotion to which you want to assign a markdown schedule, then click OK.
In the next dialog, select the Markdown Schedule to be assigned to the promotion you selected in the previous step, then click OK.

Do one of the following:
If you are finished, click Cancel to close the Schedules Assigned to Promotions dialog.
To change the Markdown Schedule assigned to the selected promotion, click Change, select the appropriate schedule, and click OK.
To un-assign a markdown schedule from a promotion, select the appropriate schedule, and click Delete. Answer Yes to confirm the deletion.
Make sure that you have the Promotion Update Report (RUP) with option F running in a nightly queue. This is necessary when using Progressive Promotions.
 .
.
Note the following about Progressive Promotions:
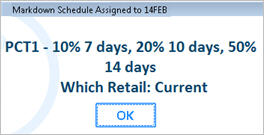
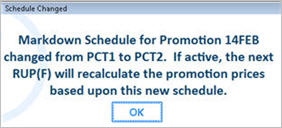
You can change a Promo Type from one markdown schedule to another. After the change, the system displays the following informational message.
In Modify Item Promotions (MIP), the “Progressive Markdown Schedule ID” column contains the Schedule ID if a markdown schedule is assigned to that promotion. The Schedule ID is a hyperlink, which when clicked displays a dialog with the markdown schedule of that promotion, and which retail is being used (Current or Starting).