Receive an Order Using Radio Frequency
This task is performed from the Eagle Browser and in Network Access.
1
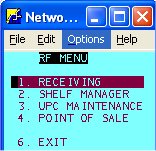
Access RF
At the RFMENU, select 1. Receiving.
2
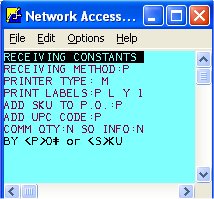
Setting constants and options
You may set the following options for the receiving mode:
-
Receiving Method: P=Receive by PO; S=Receive by SKU across multiple PO's for the same vendor (note: receiving by SKU does not support adding SKU’s to purchase orders).
-
Printer Type: P=PS-1001; M=MP5033 Q=QL320 N=Network Printer
-
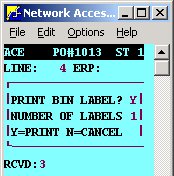
Print Labels (This consists of three fields.):
-
-
Yes, No, Prompt (the RF asks you how many labels to print), or Always
-
Small or Large size label (if using a network printer, this field can be set to L, S, A, B, or C depending on which RF "flex-label format" in Options Configuration you want to use)
-
Print Price Yes or No
-
-
Number of Labels: Enter value 1 - 9
-
Add SKU to PO: Yes, No, or Prompt
-
Add UPC Code: Yes, No, or Prompt
-
Display Comm Qty: Yes or No
![]()
These options can also be set up in Options Configuration, so that you don't have to enter them every time you use RF Shelf Manager. Once you've set them up in Options Configuration, simply press <Next Screen> to bypass these options in Shelf Manager.
3
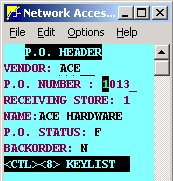
Enter the header information
In the P.O. Header screen, specify the following information:
-
VENDOR: The vendor code for this PO.
-
PO Number: The PO number you are receiving.