(Epicor Eagle™ Labels for Windows users only)
Use the following procedure to add lines (vertical or horizontal) or boxes to a label design. Lines and boxes (and graphics) are called considered "objects" when adding them to a label design.
Display the label design to which you want to add lines or boxes.
If the label design is locked, unlock it.
To add a line, click the Add Obj button on the tool bar. From the Field Type list, select the type of line you want to add, Line - Horizontal or Line - Vertical. Click OK. A dialog displays.
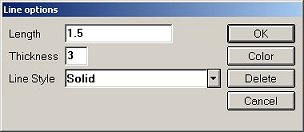
Fill in the fields in the dialog:
Click Color to display the Color dialog. Select a color from the grid of colors or click Define Custom Colors to enter your own color formula. Click OK.
In the Line options dialog, click OK.
Drag and drop the line to the desired location on the label. Use the handles at each end of the line to resize the line.
Save the label design to preserve the line you just added.
To add a box, click the Add Obj button on the tool bar. From the Field Type list, select box and click OK. A dialog displays.
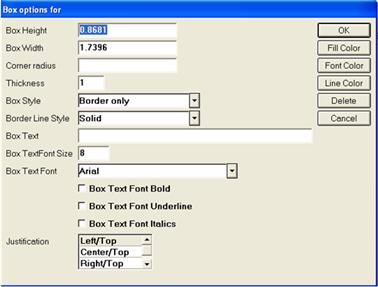
Fill in the fields in the dialog:
If you selected a filled box style, click Fill Color to display the Color dialog. Select a color from the grid of colors or click Define Custom Colors to enter your own color formula. Click OK.
Click Font Color to display the Color dialog. Select a color from the grid of colors or click Define Custom Colors to enter your own color formula. Click OK.
Click Line Color to display the Color dialog. Select a color from the grid of colors or click Define Custom Colors to enter your own color formula. Click OK.
In the Line options dialog, click OK.
Drag and drop the box to the desired location on the label. Use the handles on the edges of the box to resize the box.
Save the label design to preserve the box you just added.