(Signature Capture users only)
Use the following setup procedure if you want to include the buyer’s signature on purchase orders laser-printed or faxed from the Purchase Order Format Report (RPO). This procedure assumes that you already have a Signature Capture device up and running. Note that the Licensing Department or Eagle Advice Line must activate the flag "Print and fax buyer signature on purchase orders."
Set up the options that control the Buyer's Signature on PO's feature, as follows:
Click the arrow to the right of the Subsystem box and select "All" from the drop-down list, then click the arrow to the right of the Options box and select "All Options" from the drop-down list. Then click Display.
Double-click on the Description column to sort the options in alphabetical order. Then scroll down and fill in the following options:
Enter the buyer's signatures in Device Configuration, as follows:
From the Eagle Brower, click Utilities in the left pane, then click Device Configuration. The Device Configuration window displays.
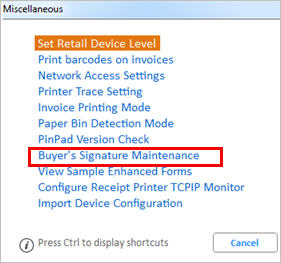
Click Misc, then select Buyer's Signature Maintenance.
In the Buyer's Signature Maintenance dialog, enter the user name of the buyer (the user name must be on file in the Eagle system), and click Capture.
![]()
The Buyer's Signature feature only recognizes two-digit user names. If you have any three-digit user names, they will be truncated to two characters. This can be a problem if an employee that is authorized to order has a user name with the same first two characters as another employee that is not authorized to order; the system will let either of the employees order. If this situation arises, you must change one of the offending user names so that its first two characters are unique from the other user name.

When prompted, have the buyer sign the signature capture pad.
Click OK to save the buyer's signature.

The signature has been captured. From this point on, whenever you print or fax a PO created by that buyer (his/her initials are in the Buyer's ID field in the Purchasing window), his/her signature prints using the signature stored in Device Configuration. If the buyer on the PO does not have a signature on file, the system uses the buyer's signature you designated in the option "Default buyer signature when faxing or printing from RPO."