 beside the
From field and select
the file name to load.beside the
From field and select
the file name to load.
beside the
From field and select
the file name to load.beside the
From field and select
the file name to load.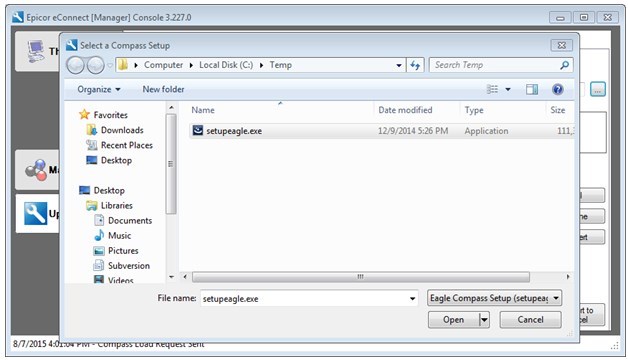
Click on Open to complete the file selection process.
Press Load New Update and accept the Software License Agreement.
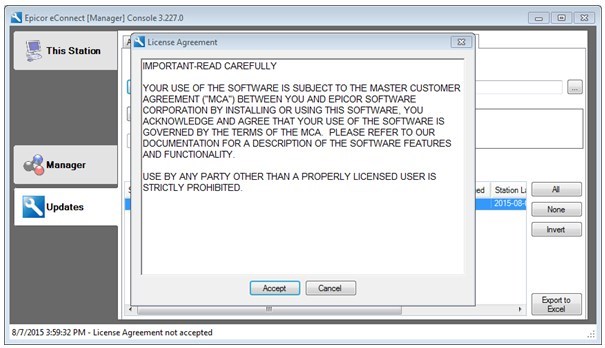
The update takes about 10 minutes to load.
The Distribute Update button becomes enabled.
Click the ALL Button on the right or select the desired stations to which to distribute the first schedule.
Click Distribute Update to display the scheduling window.
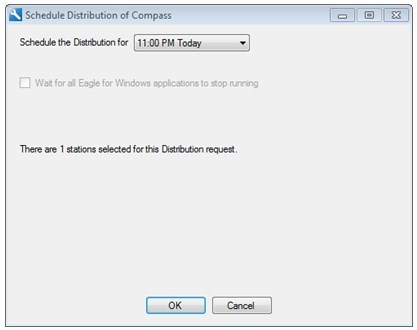
Note – you can schedule the distribution process multiple times and it can span several evenings if necessary.

Do NOT distribute updates to stations during business hours because this process dramatically slows down the network. If necessary, you can distribute updates to stations over several nights.
Check the “Update Status” column to verify the download for selected clients was “Completed” or “Skipped.”
Once the Distribution is completed distributing the new software, return to the eConnect Manager Console and initiate the install for all clients using the desired schedule – usually after hours as this will cause a system reboot.
![]()