Style-Color-Size: Set Up Style Members
Use the following procedure to set up Style Members. This is the second of three steps in setting up a Style Group.

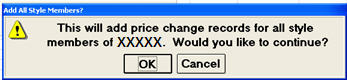
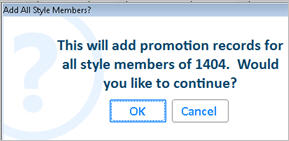
Once you have added Style Members, you can post all Style Members at once in Modify Item Promotions (MIP), Item Price Changes (IPC), and Label Manager. When you enter a Style Item in any of these applications, a confirmation message displays.
Setting Up Style Members
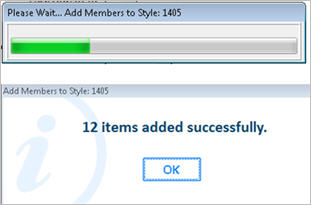
- With the Style Item displayed in Inventory Maintenance, from the Misc tab, click the Style Contains X Members hyperlink. This displays the Add Members to Style dialog.
Note: You can also display the Add Members to Style hyperlink by clicking the Style hyperlink.
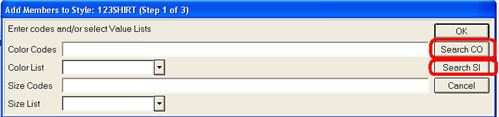
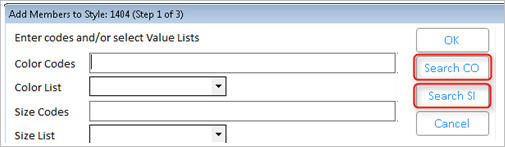
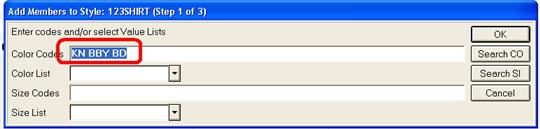
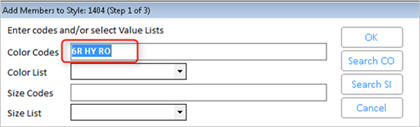
- This Add Members to Style dialog is a shortcut screen to save time in selecting Attribute values (colors or sizes). Do any of the following, and then click OK.
- Manually type Color Codes and/or Size Codes if you know them by heart.
- If you have many existing attribute values, and need a quick and convenient way of finding the attribute values you need, click Search CO (search colors) or Search SI (search sizes).
From the Attribute Value Maintenance window that displays, you can use the checkboxes to select one or more attribute values.
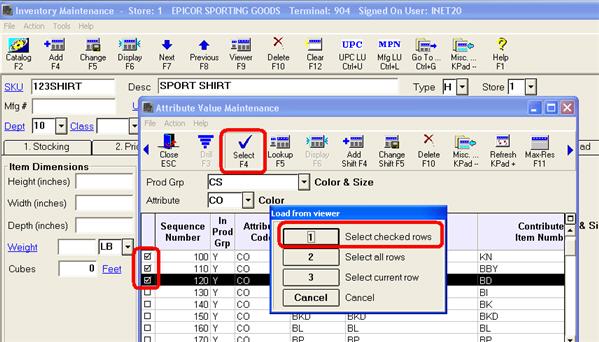
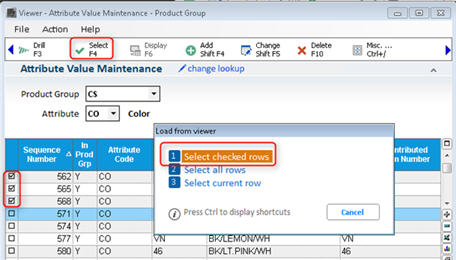
The values you select are posted back to the Add Members dialog.
- Select a pre-defined Color List and/or Size List.
- Leave this dialog blank. You will select Attribute values (specific colors or sizes) in the next dialog.
- If you manually typed Color and/or Size codes in the previous step, the setting you use for option 9610 "Add new attribute values" determines whether or not attribute values are added on the fly. See the for details.
- When the next dialog displays, anything that you selected in the previous screen is automatically checked.
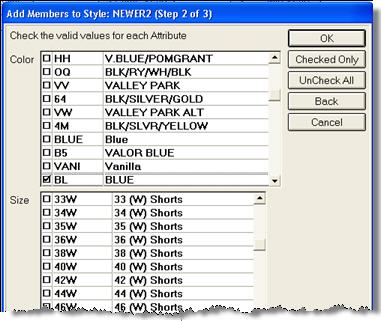
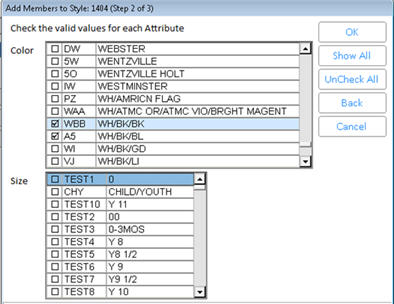
Do any of the following:
- Further refine Attribute values beyond what you selected in the previous dialog by using checkmarks to select/deselect colors and/or sizes. Note: you can ONLY select Attribute values that are valid for this Product Group!
- If you left the previous dialog blank, select the relevant color/sizes manually in this dialog.
- If you want to view a summary of the Attribute values that you checkmarked, click Checked Only. To go back to seeing all Attribute values, click Show All.
- If you want to remove all checkmarks and start the selection process over, click UnCheck All.
- To return to the previous dialog (that contains the shortcuts), click Back.
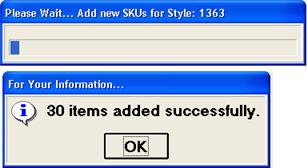
- When finished, click OK. A confirmation dialog displays, showing you the items that will be added to your system. Or, if any problems occurred, an error message displays instead of the confirmation dialog.
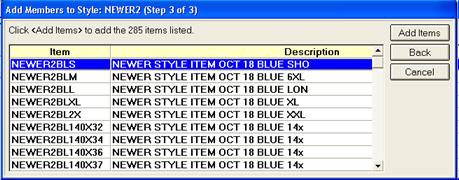
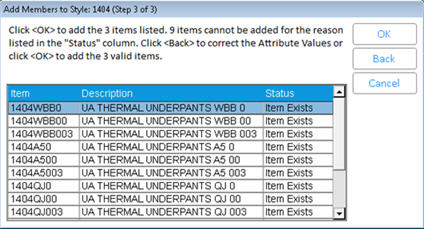
- Click Add Items. The system adds an item for every attribute combination for each store in which the Style Item exists. This process may take a few minutes if there are many combinations of attributes and stores in which the style members must be added. When finished, you'll receive a confirmation message (or an error as to how the problem occurred).
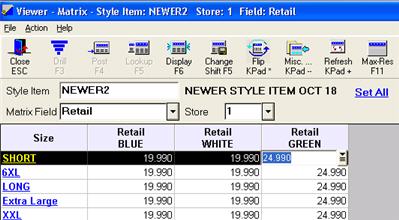
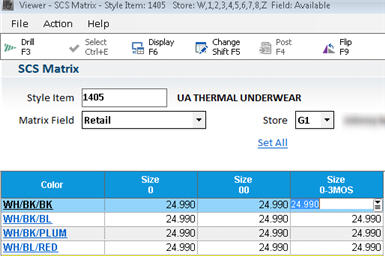
- When the Style Matrix Maintenance Viewer displays, if needed you can override fields at the individual item level. For example, you may want to increase the retail price and replacement cost of the largest size items. When finished, click Change.

If you use the Price Import Designer, note that you can use the Update Style field to update all style members when you update their style item.
- Proceed to the topic Add Color-Specific Images.