Setting Up a Queue Schedule
After creating a report queue, you can set up a schedule for the report queue. You can schedule the queue to automatically run at a specific time, day of the week, date of the month, etc.
1
Enter and schedule the queue
Enter a queue into the schedule and assign a time schedule to the queue. No more than 999 queues are allowed in the schedule.
-
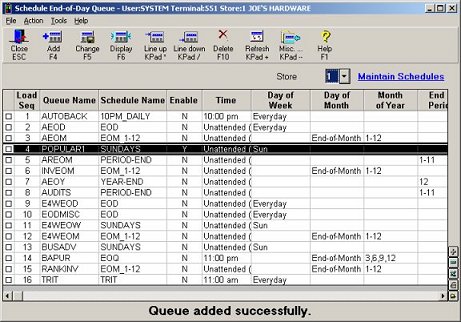
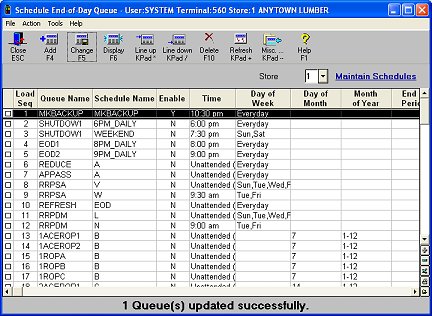
From the Eagle Browser, click System Management Menu. From the list that displays, click Schedule an End-of-Day Queue (SEQ).
-
Review the list of queues. Click to select a line where you want to insert (enter) a queue. The queue will be added below the line you select.
-
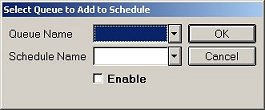
Click Add to display the add dialog:
-
At Queue Name, select the name of the queue from the list.
-
At Schedule Name, select a time schedule from the list. If none of the time schedules suit your needs, create your own schedule (see the job aid "Creating and Maintaining Queue Schedules").
-
If you want to enable this queue, click the check box for Enable.
-
Click OK. The dialog closes and the queue is added to the schedule.