(Document Management users only)
Use the following procedure to set up your system to print Accounts Payable checks on a laser printer. This procedure assumes the flag "Allow laser Accounts Payable checks" in Options Configuration has already been set to Yes. This flag can only be changed by the Eagle Advice Line or Licensing Department. You must have pre-printed check forms in order to print laser checks.
Set up Network Report Printing for the printer at which you will be printing laser checks.
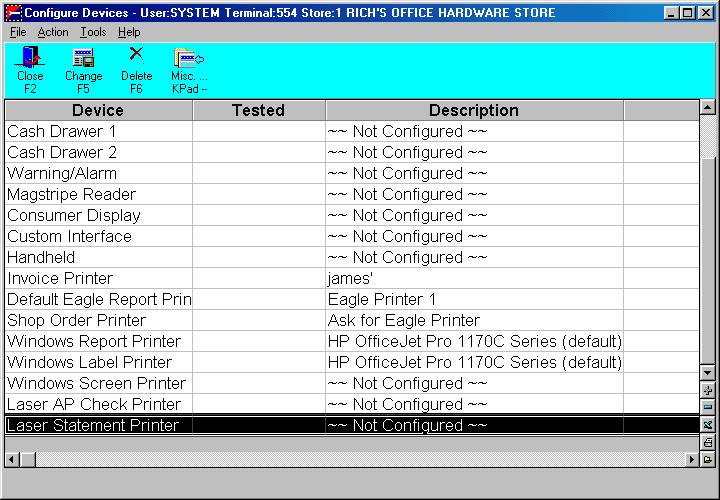
From the PC at which the "Listener" is running, display the Eagle Browser, and click Utilities (in the blue left pane of the window). From the menu that displays, click Device Configuration. The Device Configuration window displays.
Important: The PC at which you execute the following steps must be the same PC at which you started the "Listener" when you set up Network Report Printing.
Double-click Laser AP Check Printer (near the bottom of the list of devices).
From the list of printers that displays, select the laser printer to be used and click OK.
From the Laser AP Check Printer dialog box, click TEST to verify the Laser A/P check setup is working properly.
If the test check printed properly, click Yes. If not, click No.
When you're returned to the Laser AP Check Printer dialog box, click OK to close it.
Once the setup and test is complete, you can run A/P checks from the Reports menu in Epicor Eagle™ for Windows (note: you cannot run laser checks from the classic Eagle system).
If you clicked "No" in step 6 because the check didn't print properly, verify that you have network report printing set up. Then return to Device Configuration, double-click Laser AP Check Printer, click Test, and run another test check.