Adding a Customer Account
The following steps show you how to add new customer accounts to your system. This procedure assumes you have already set up your A/R constants in Options Configuration.
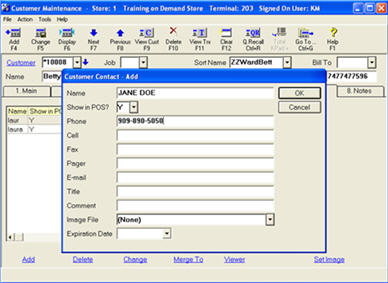
When you create a new account, you can also add authorized to charge names for the account.
This task is performed from the Eagle Browser.
![]()
Use the Tab key on your keyboard to move from box to box within a window.
1
Adding a customer account
-
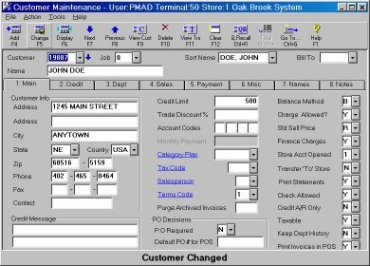
From the Eagle Browser, click Accounts Receivable Menu, then click Customer Maintenance.
-
Type the customer number and press Tab.
-
Press Tab until you reach the Sort Name box. Type the customer name the way you want the account to be sorted and press Tab.
![]()
If you want the name to be sorted by the customer's last name, type DOE, JOHN. If you want the name to be sorted by the customer's first name, type JOHN DOE.
-
Press Tab until you reach the Name box. Type the customer name, first name then last name.
2
Adding information to a customer account
-
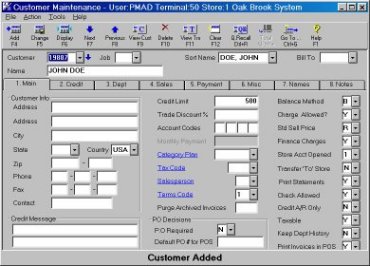
From the Main tab, type the customer address information.
Other information you may add on the Main tab includes:
-
Credit limit
-
Discounts
-
Tax codes
-
Balance method
-
Default P.O. number
-
Finance charge
-
Click Add to save your changes.