Run Accounts Receivable Statements
The following shows you how to prepare and print statements on a dot matrix or laser printer. It includes the steps for:·
-
Closing the AR accounts
-
Preparing accounts for the statement run
-
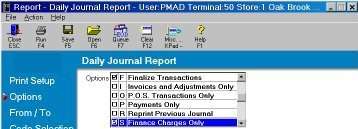
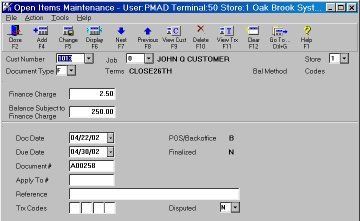
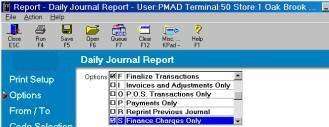
Calculating and posting finance charges
-
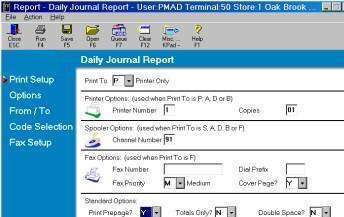
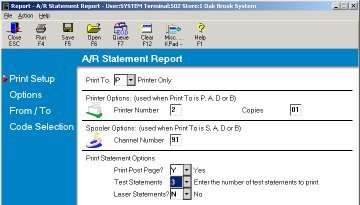
Printing the actual statements
This task is performed in the Eagle Browser.
1
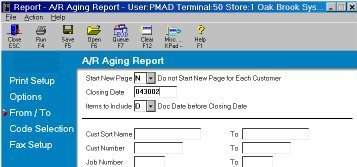
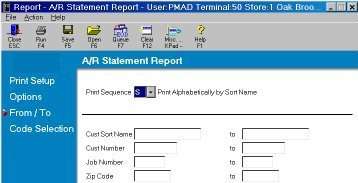
Print the A/R Aging Report
Run an Aging Report (RAG) to close and ready the Accounts Receivable accounts.
-
From the Eagle Browser, click Reports, click Accounts Receivable Reports, and then click A/R Aging Report (RAG).
-
Click Options.
2
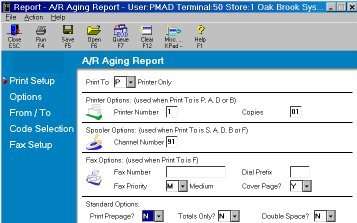
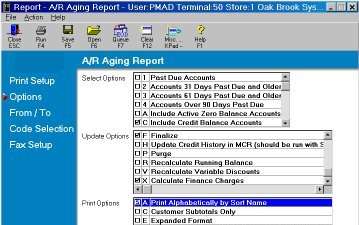
Specify report options
-
From the Select Options list, select C - Include credit balance accounts.
-
From Update Options, select:
-
C - Close (Prepare for stmts)
-
F - Finalize
-
X - Calculate finance charges
-
From the Print Options list, select A - Print alphabetically by sort name.
-
Click From/To.
3
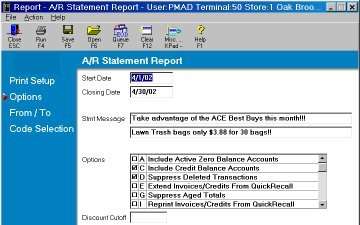
Specify the From/To
-
Enter a closing statement date in the MMDDYY format. Do not use slashes (/) in the date box.
-
To run the aging report, click Run.
-
When the Report has been sent to printer message displays, click Yes to exit.