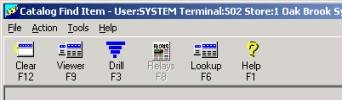
Catalog Procedures
The catalog is a database of all items carried in the vendor's warehouse. These items are not necessarily in your inventory file. You may look up specific items in the catalog and then choose to complete several tasks. For example, you may add an item to your inventory files if it is not already there. The catalog is updated on a regular basis.
1
Access the catalog
The catalog may be accessed from three locations:
-
the Eagle Browser
-
Inventory Maintenance— a catalog button on the toolbar
-
Purchasing and Receiving Detail Posting Screen— a catalog button on the toolbar
You can also create a shortcut on your PC desktop or task bar for easy access to the Catalog.
2
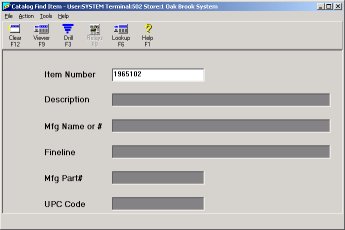
Enter the search criteria
If you know the item number, description, manufacturer name or number, fineline, manufacturer part number, or UPC number, type the information in the appropriate field.
![]()
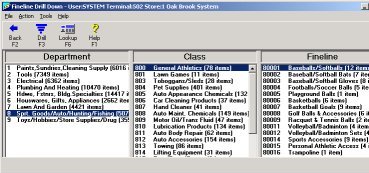
If you do not know any of the above information, you can use the drill down feature explained later in this task. See step 5.
3
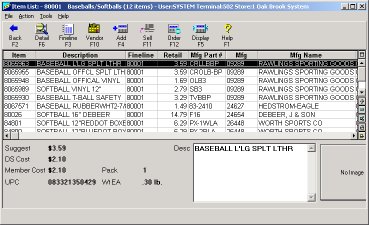
Display the items
-
Click Lookup on the toolbar. The items that meet the criteria you entered in the previous step display.
-
To select a record, click the item.
![]()
For a simple list of items with less detail, click Viewer on the toolbar. To select a record, click the item and then click Lookup on the toolbar for more detail.


4
Take action
You must decide what you want to do with the item. Take one of the following actions:
-
Add— adds the item to your inventory.
-
Display— displays the item if it is in your inventory. If it is not, you must add it.
-
Sell— imports the item into Point-of-Sale.
-
Order— imports the item into Purchase Order.