If the label design is locked, unlock it.
Click ![]() . The Field Type Selection dialog displays.
. The Field Type Selection dialog displays.
(POS Flex-Label users only)
If the label design is locked, unlock it.
Click ![]() . The Field Type Selection dialog displays.
. The Field Type Selection dialog displays.
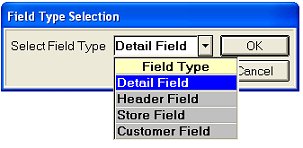
Depending on what type of field you want to add to the label design, select Detail Field, Header Field, Store Field, or Customer Field.
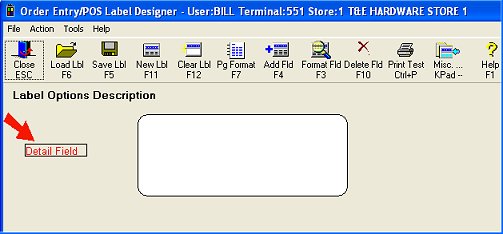
Click OK. The field you selected displays to the left of the label design.
Click the field while holding down the left mouse button. Drag the field to the desired position in your label design, then release the left mouse button.
Double-click the field. The Field Parameters dialog displays.
In the Data Field box, select the data field you want to be associated with this field on the label (such as Customer Number, Delivery Date, Descriptor Lines, Copy 1 of N, Label 1 of N, Comment, etc.).
![]()
If you select UPC as a field for your labels, a font size of 25 is a good starting point. You may want to print a test label and then try scanning it to make sure the scanner can read the UPC.
Fill in the other fields in the Field Parameters dialog. For a detailed explanation of each field, click here.
Click OK.
Save the label design to preserve the field(s) you just added.