At the From-store, create a transfer from the PO. This store is the From-store on the transfer. To create the transfer, you'll need to PO number. Click here to go to the help topic for creating a suggested order. Once the transfer is created, you can no longer display the PO.
In POS at the Customer field, click Menu to display the Header menu.
From the menu, select P-Create transfer from purchase order.
Enter the customer number for the transfer account.
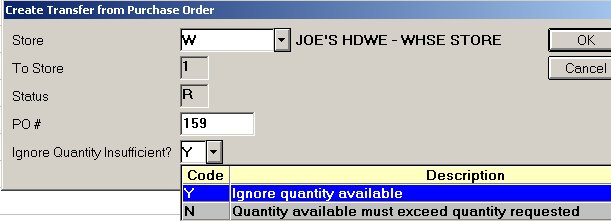
In the dialog that displays:
In the Store field, select the From-store.
Fill in the PO number.
Set the quantity field to Y (yes) or N (no).
Click OK. If the Transfer Options dialog displays, review the update options. Change them if necessary. Click OK. The options default to your settings in Options Configuration.
A status bar displays indicating that the transfer is being created. Another dialog displays indicating that the transfer document was created and provides the document number of the transfer.
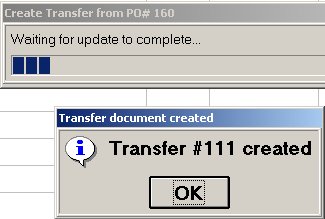
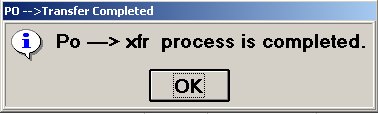
Click OK in the document number dialog. Then wait for the following dialog to display that the process is complete. Click OK.
The items from the PO are now on the transfer and display in the POS window. This is a regular transfer document, Status R (request). You can add or change items on the transfer. Complete the transfer as you normally would. When the Transfer Status dialog displays, you have the option to print the document. If you want to change the print sequence, click Menu to display the Totals Menu. From the menu, click 5-Change print sequence. Select a print sequence from the list that displays.
Next, pick the merchandise to fill the transfer. Click here to go to the help topic.