There are several pieces to setting up Eagle for electronic payments: ACON, AP option settings, and security.
ACON settings:
ACON - The Federal ID number is required here, to be used in the ACH file that is sent to the bank.
ACON – set the ‘Multiple Codes’ flag to ‘Yes’ to allow the use of multiple Bank Codes.
Set the following A/P options to Yes:
A/P Option 9011 Execute Separate Check Runs for Bank Codes Assigned - This option tells the check-payment process to look at the Bank Code set up in MVR when processing checks.
A/P Option 9013 Allow A/P Electronic Payments
A/P Option 9015 Use EFT Network to Transfer Vendor Payments through ACH. An Epicor Representative will enable this option once the customer has received the credentials from EFT Network.
MSY Option 5776 iNet Connect on System - This option is required for sending Statements to the Vendor by email.
Set the following security options:
MSE # 1095 – Ability to access and change the vendor’s ACH information. When this is set to Yes, the Accounts Payable tab of Vendor Maintenance (MVR) will have a link to ‘ACH’, which, when clicked, will allow the user to add or change the vendor’s ACH information.
Use the Secure Access window to setup your EFT Network.
Note: You must have the MSY Option 9015 Use EFT Network to Transfer Vendor Payments through ACH set to Yes. An Epicor Representative will enable this option once the customer has received the credentials from EFT Network.
To set up the EFT Network interface perform the following steps:
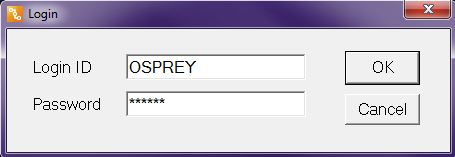
Open Secure Access in the Osprey Menu and enter the following credentials:
Login ID = OSPREY
Password = AVATAR

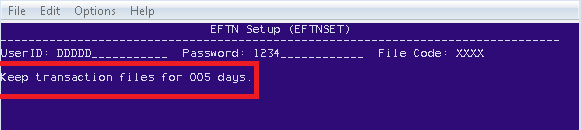
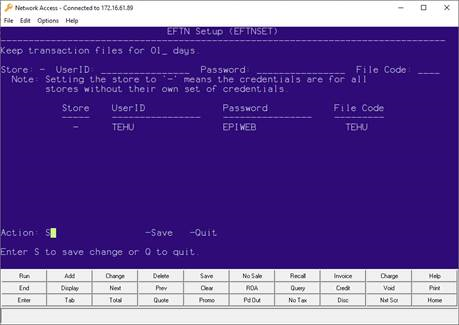
A value of 000 indicates that no files are to be deleted. The minimum value is 1 day but it is recommended to set this option to at least 30 days.
Note: Setting the option to at least 30 days allows you to retrieve the file in case of any issue in transmission occurs.
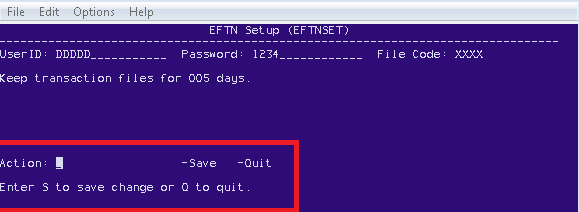
Tab to the action choice and type <S> to save the EFTN Setup. If you do not want to save what has been entered, type <Q> to quit the Setup.
Once you set up EFTNSET, an invoice for any vendor setup as ACH can be transmitted via EFT Network automatically.

The Email Contact is the email address for your business. It will be used as the ‘From’ email address when the Eagle sends the vendor an email notifying them of the electronic payment.
The Payment Type A designates that this bank code is for ACH payments only. When using a bank code with Payment Type A, checks will not print, and an ACH file will be created when payments are posted.
Note: The ACH Bank Code cannot be the default bank code entered in ACON.
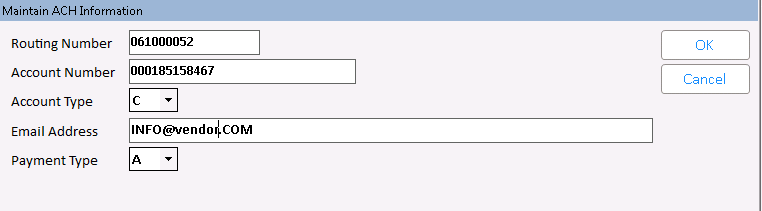
Routing Number – 9-digit Routing number for the Vendor’s bank that will receive the ACH payment.
Account Number – Vendor’s bank account number to send ACH payments to – alpha-numeric 17 digits.
Account Type – Determines if the account is a checking or savings account. Valid values are S (savings) or C (checking). Default is C.
Email Address – email address to send the notification of payment.
Note: As of Release 29.1, you can now add more than one email address in this field. Separate individual emails by a semi-colon. Each email in the list will receive the invoice notification:

Payment Type – Valid values are A (ACH) or C (Check). The default is C. ‘C’ can be used when you need to print a physical check for a normally-ACH vendor.
If the Bank Code is set up for ACH and the Vendor is set up with the Bank Code and has their ACH account information entered, then checks will print for the ACH Vendors, but they will be marked VOID. In addition, the ROCK report is created for each check payment.
If you get a No valid checks to print in range selected message when trying to print checks for an ACH bank, review the following conditions:

Each store could have separate bank accounts set up in EFT Networks to pay their Vendors, which would require different FileCodes from EFT Networks to be setup in Eagle. Based on what Store is processing checks that have multiple AP Directories, it uses that stores credentials when sending the payment information to EFT Networks to process the Payment to the Vendor.
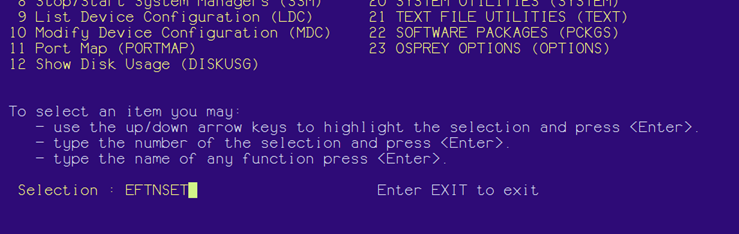
For most retailers, only one set of EFTN credentials is needed. However, you can set up multiple credential sets, if needed. For either scenario, in Osprey, type in EFTNSET, and configure the credential setup.
Note: You can press Enter to move from field to field.

Type <S> in the Action area to Save or type <Q> to Quit and close the window.
Type in the Store, UserID, Password and File Code.
Do this for each set of credentials provided by EFT Networks that you need to account for.
Note: You can press Enter to move from field to field.

Type <S> in the Action area to Save or type <Q> to Quit and close the window.
To delete a store, or the – (dash) store, enter the store, then press enter. Blank the User ID field with the spacebar, then press enter.
Type <S> in the Action area to delete the entry.
Post invoices normally through New A/P Transactions (ATMU) via RATJ.
Select required invoices in Selecting, Paying and Adjusting Invoices (APMU):
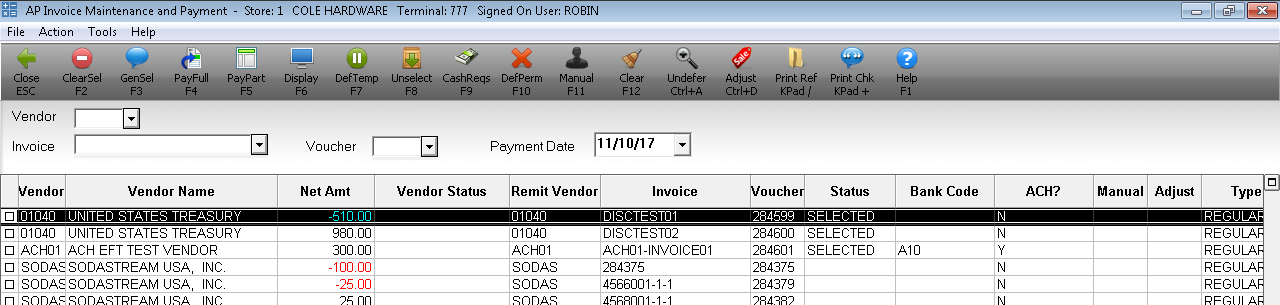
Print checks through APCM with the ACH bank code.
Post Checks and Print Check Register with APPC.
APPC is the vehicle that will transmit the electronic payments via EFT.
If the EFTN batch is successful, the following message displays in the File Transfer Audit Log in SHOWLOG:

If the EFTN batch is unsuccessful, the explanatory message displays in the File Transfer Error Log in SHOWLOG .