This section covers creating a template within the Hosted IMIGIT scanner plug-in (SPEID) to ensure the fields are correctly mapped from the document image to the invoice information in order to import into Eagle.
In order for the OCR technology to recognize a vendor invoice, a template must be created. Creating a template for each vendor will make the scanning processes efficient as the system will automatically detect the vendor and all of the pertinent fields in order to create the AP Assist Processing XML file.
Have the vendor’s invoice in hand
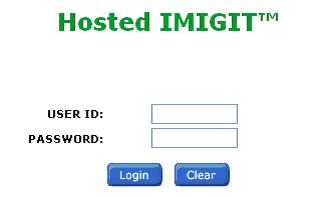
Log in to the Epicor Hosted Webdocs portal (URL and credentials provided by Epicor licensing):
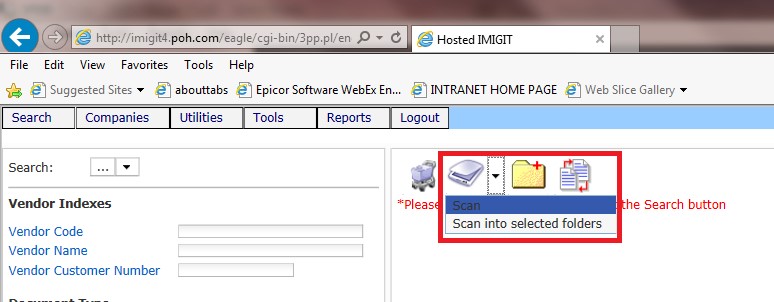
Open the SPEID scanner by clicking the down arrow and selecting “Scan”:
Note: If this is the first time selecting the scanning tool, it will prompt you to download the scanning plugin onto your client. Once downloaded, run the setup.exe and it will install the scanning plugin that runs on the client.
This plugin is required for creating the Vendor Invoice templates, Scanning and configuring the AP Assist export file settings.
See Appendix A for Installing the Scanning Plug-in.
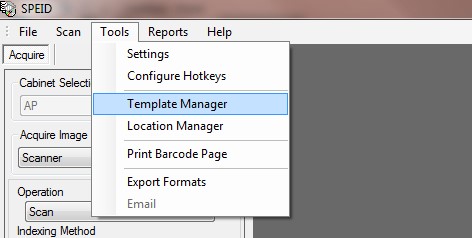
Once SPEID is open, go to the Tools -> Template Manager:
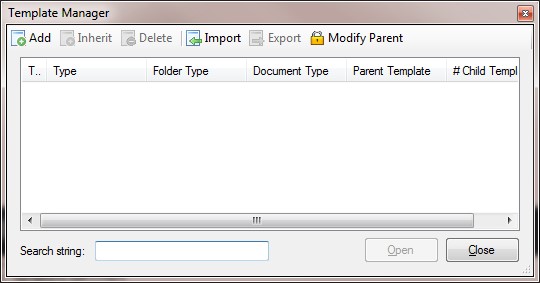
In the Template Manager dialog, Press Add:
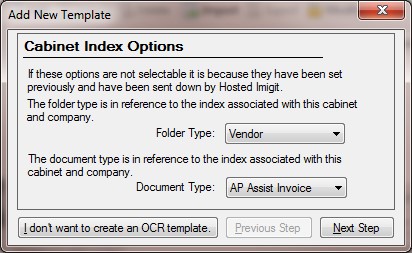
Select the Cabinet and Document Type to catalog the template, then press Next Step:
Enter the Template Name that should identify the Vendor’s invoice (Name of the Vendor would be ideal). The Template Note is optional (can be used to identify the store for multi-store setup):
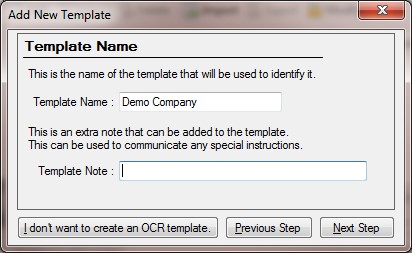
Press Next Step.
Scan or Import the vendor Invoice in the Sample Image Source:

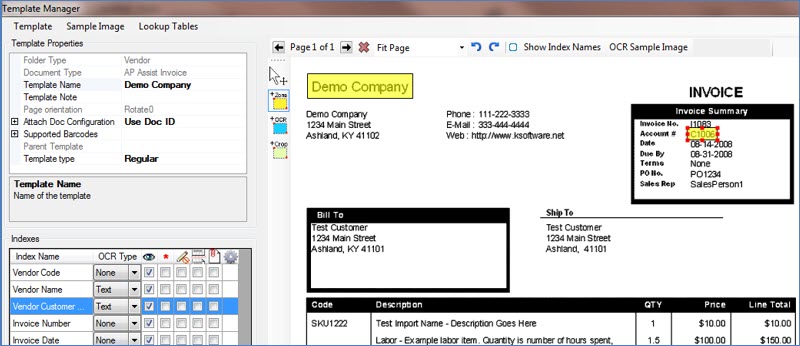
With the invoice displayed, the OCR Zones can now be defined. Highlight the Index under the Indexes grid:
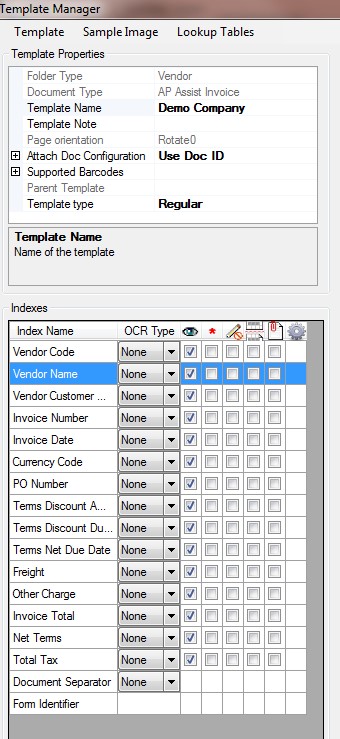
In this example, Vendor Name has been selected.
Click the +Zone button on the left hand side of the scanned invoice. Then drag the square box around the Vendor Name:
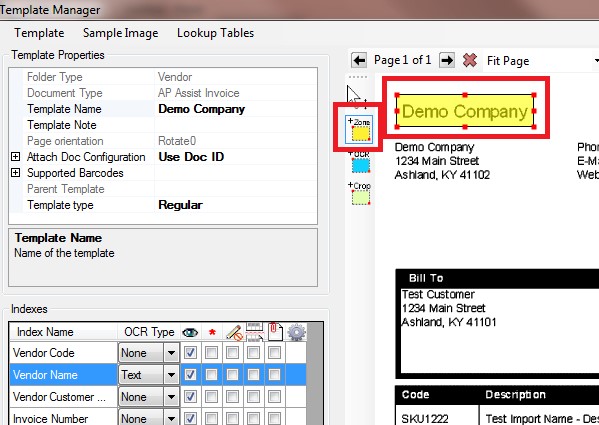
The system will auto-detect that it's 'Text' in the Indexes grid.
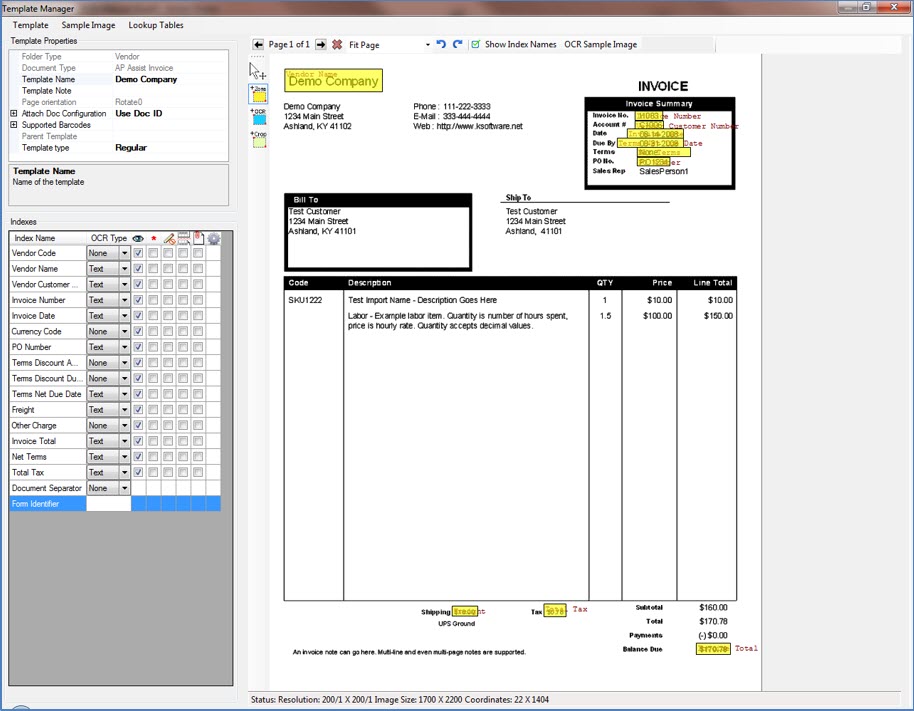
Highlight the next Index in the Indexes grid to map:
Continue doing this for the available indexes:
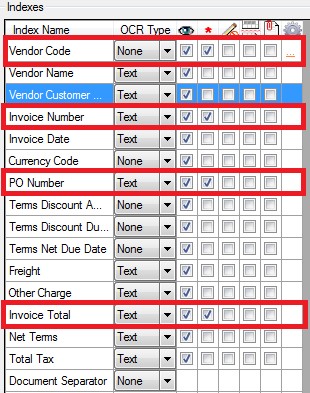
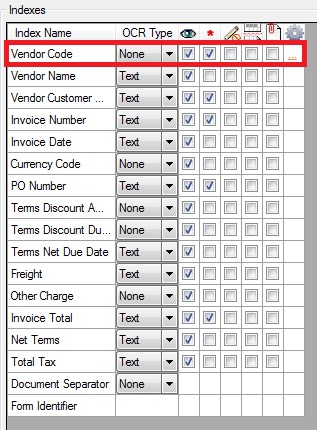
The following fields should be marked as ‘Required’:
To include the Eagle Vendor Code that will likely not be printed on the vendor invoice, double click on the Vendor Code Index. This will show the Index Properties dialog:
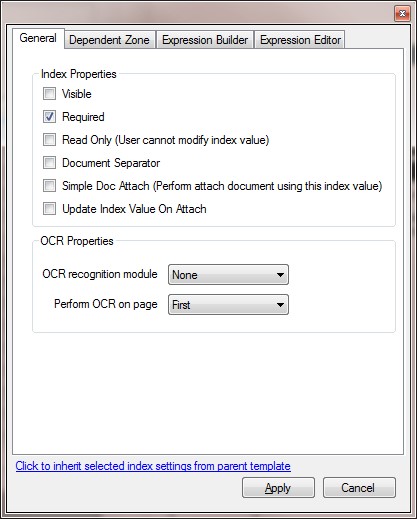
Go to the Expression Builder tab and double-click on the + by ‘add field’. This will show the ‘Field’ properties dialog:
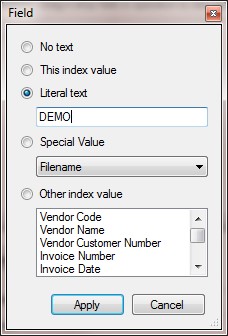
Select ‘Literal text’, and then enter the Eagle Vendor Code in the blank text field below. Then press Apply.
Press Apply in the Expression Builder tab. This will save the Eagle Vendor Code for this template:

Make sure that the ‘eye’ is checked for Vendor Code in the Indexes grid:
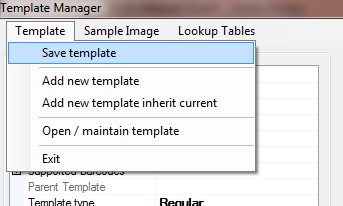
When finished with the template, Click on Template in the upper left hand side of the screen, then Save template:
Once the template has been saved, the next time this vendor’s invoice is scanned, the system will automatically detect the vendor and all fields defined in the template.
Once the templates have been created, invoices can be scanned.
In the SPEID scanning window, make sure the following fields are configured:
Acquire Image From – specify whether the invoice image will come from a folder on the PC or from a document scanner
Operation – set to Scan
Indexing Method – Set to Template
Template – Set to (Auto-Identify)
Document Separator – Set to Template Separator
Document Id Collision Handing – Set to Append to document as page

Once all the settings are in place, follow these steps to scan the invoices.
Press the ‘Acquire’ button and scan the invoice(s). The system will auto-detect the invoice(s) based on the templates defined.
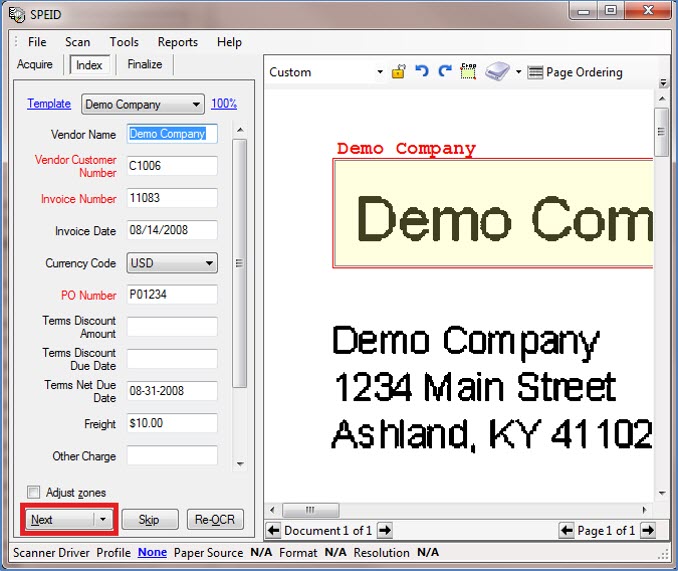
Once the invoice(s) are scanned, SPEID will display the values that were extracted from the defined indexes:
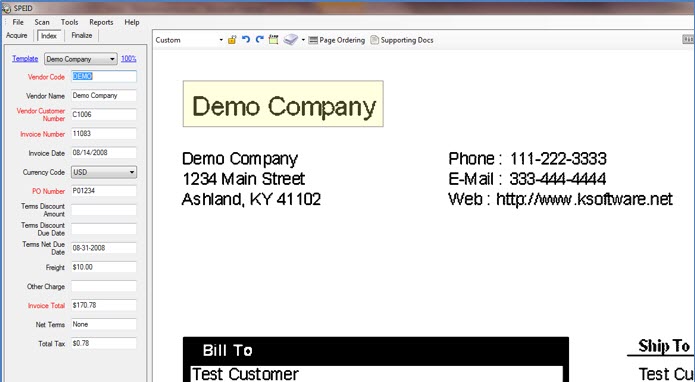
Verify that the data extracted is correct.
Press the Next button located in the bottom left hand corner of the screen once the invoice(s) have been verified:
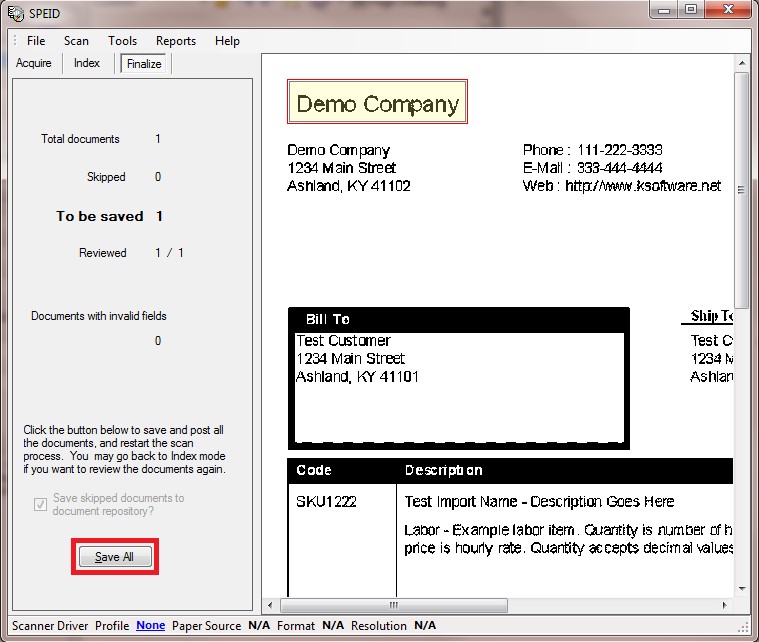
Finalize the scanned invoice(s) by pressing the ‘Save All’ button:
To setup SPEID to export the AP Invoice to an XML file so it can be imported into Eagle, follow these steps:
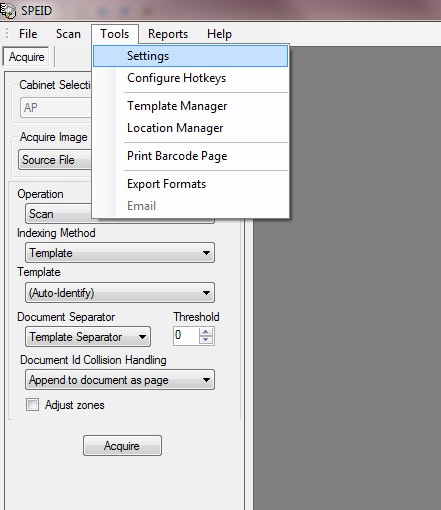
From the SPEID scanning software, go to Tools and then Settings:
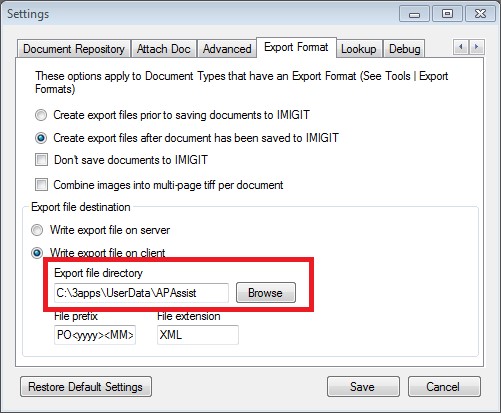
In settings, scroll the tabs to the right to locate the ‘Export Format’ tab:
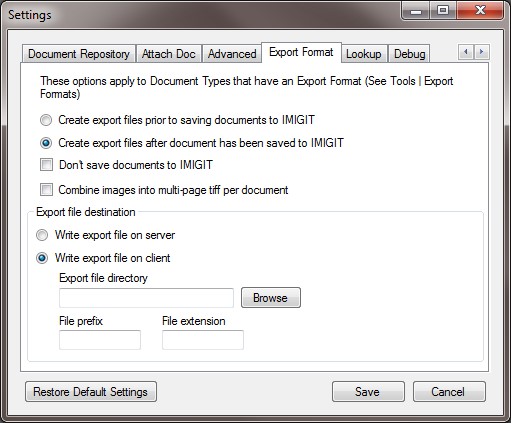
In the ‘Export Format’ tab, make sure ‘Create export files after document has been saved to IMIGIT’ is selected.
In the ‘Export Format’ tab, make sure ‘Write export file on client is selected.
In the Export file directory field, press the ‘Browse’ button and select the location on the PC to export the XML files.
Enter ‘PO<yyyy><MM><dd><hh><mm><ss><ff>’ in the File prefix and XML in the File extension fields:
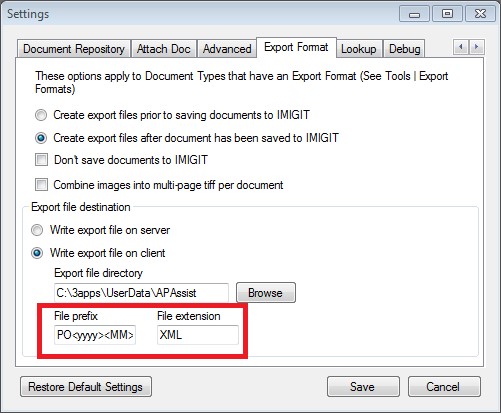
Press Save
Every time an invoice is acquired and then saved to IMIGIT, it will write the XML file and place it in the specified location.