Creating ItemPart Lists in the ItemPart List Viewer
Use the following procedure to create aan item part list from the Item List Maintenance Viewer. This procedure is for all types of ItemPart Lists, including Dynamic Promotions Item Lists.
Open the ItemPart List Maintenance ViewerOpen the ItemPart List Maintenance Viewer
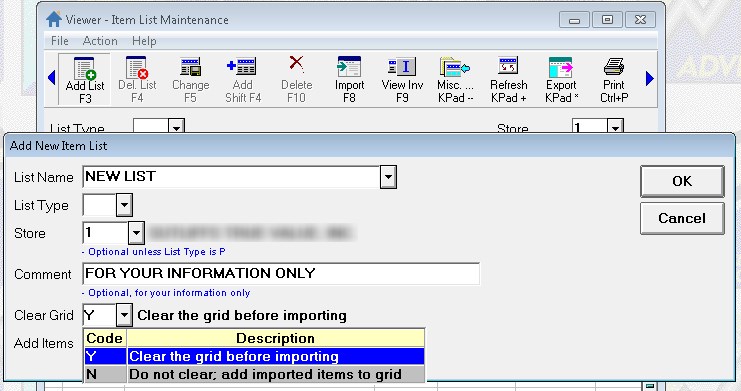
.Click Add List. The Add New Item Part List dialog box displays.
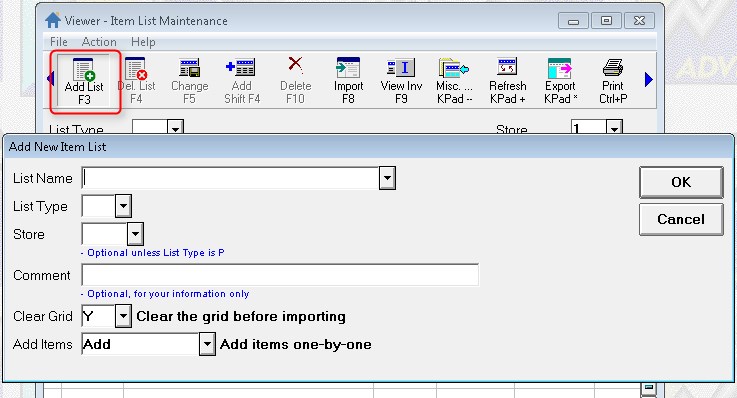
In the List Name field, type a name for this list.
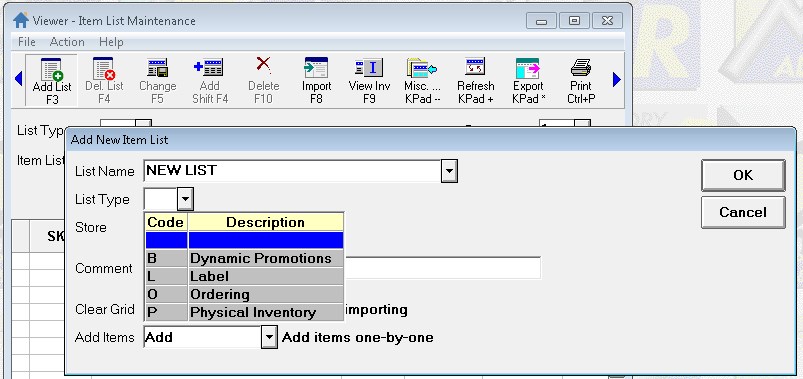
In the List Type field,select the type of list you want to create (if you are creating a dynamic promotion, select B–Dynamic Promotions).
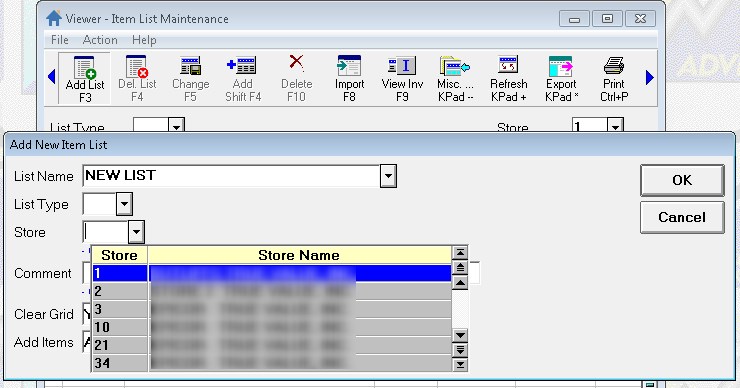
In the Store field, select the store you wish to assign to the list.
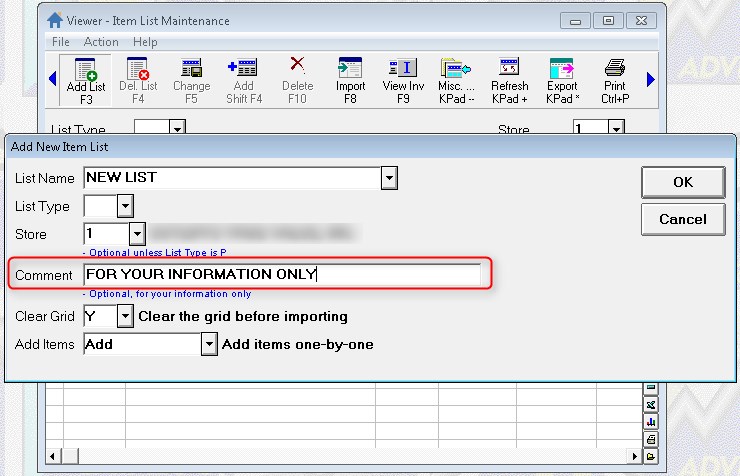
In the Comment field (Optional), type a note for your reference. The Comment field is available in the Item List Header Viewer.
In the Clear Grid field, if you need to clear the grid of existing itemsparts before continuing, select Y. Select N if you want to add itemsparts to the existing list.
In the Add Items field, select the method you want to use to add itemsparts to the list.
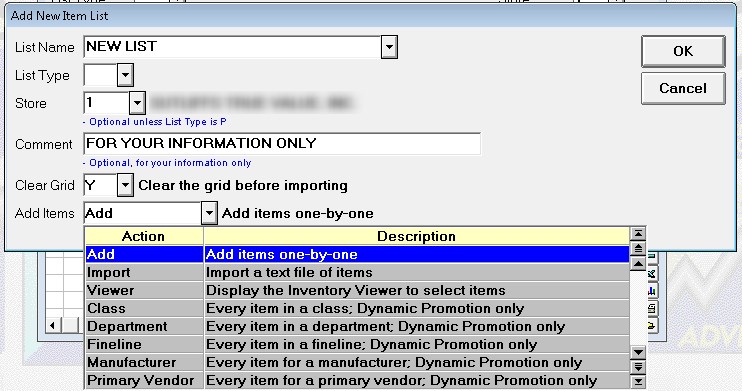
Click one of the following for more information about that selection:
Select Add to manually enter itemsparts one at a timeSelect Add to manually enter itemsparts one at a time itemsparts itemsparts . This option is best for small lists, when you know the SKU numbers of the itemsparts.
Select Import to import a text file of itemspartsSelect Import to import a text file of itemspartsUse this option to create an item list, or add to an existing item list, by importing a plain text file (must have an extension of .txt) containing a list of SKUs. Each SKU must be on a separate line. This is an example of a text file.
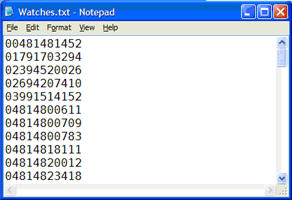
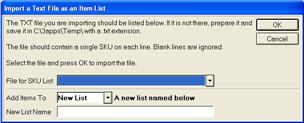
You can create and edit the text file in Notepad, and you must save the text file in C:\3apps\Temp. When you select Import, a dialog displays.
.Select Department, Class, Fineline, Manufacturer, or Primary Vendor to create a list for all items in that selection.Select Department, Class, Fineline, Manufacturer, or Primary Vendor to create a list for all items in that selection. Once the ‘by criteria’ item list has been created you cannot manually delete items from, add and append items to the list. (Cukrrently only supported for Dynamic Promotion type ItemParts Lists)
A ‘by criteria’ item list can be identified by its label under the Store field at the top of the ItemParts List Maintenance Viewer.
Add the new report RILM (Item List Maintenance) to an EOD queue. This report will reconcile item lists which were created using a department, class, fineline, manufacturer, or primary vendor. It will confirm the items in the list are still in that category, and it will add any new items in that category to the list
The Misc Menu in LISTS will have choices to E-Clear List Class and F-Sync List Class when a ‘by criteria’ list is displayed.
· Clear List will remove that criteria from the list and it becomes just a standard list of items, no longer maintained by RILM.
· Sync List essentially runs RILM to reconcile the list.Select No if you do not need to add itemsparts.
Note: Add the new report RILM (Item List Maintenance) to an EOD queue. This report will reconcile item lists which were created using a department, class, fineline, manufacturer, or primary vendor. It will confirm the items in the list are still in that category, and it will add any new items in that category to the list
Click OK to continue.