Viewing and Printing Transactions from QuickRecall
(Document Management users only)
Use the following procedure to view or print archived transactions via the Epicor Eagle™QuickRecall for Windows application. QuickRecall is the easiest and most common way to view archived transactions. Keep in mind, however, that you can only view/print sale or credit transactions. If you need to view other types of archived transactions, such as orders, special orders, estimates, etc., you must use the Document Archive Viewer.
-
Display the QuickRecall window.
-
Locate the transaction you want to view/reprint from the Document Archive using the standard QuickRecall search methods.
-
Click on the desired transaction, click Display (or press F6), and click on the blue Image link.
-
If the transaction has both a receipt and an invoice stored in the Document Archive, the Select View dialog box displays. Select Invoice or Receipt, and click OK to display the transaction in the Transaction Viewer.
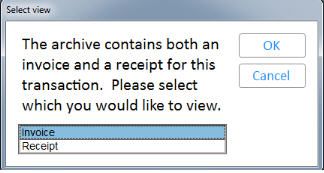
If there is only an invoice or only a receipt, the box shown above will not display, and you will be taken directly to the transaction in the Invoice Viewer.

Total Weight is not included on a reprint from QuickRecall.
-
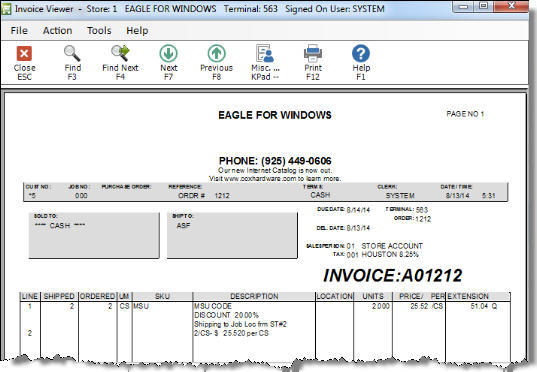
(Optional) From the Invoice Viewer, you can click any of the following buttons on the toolbar. Click on the blue text below to find out more about a particular toolbar button.
Close/<ESC>Exits the Viewer and returns you to QuickRecall.
Find <F3>If you have a receipt displayed, and you use the single column view for displaying receipts (determined in Options Configuration), you can type a value in the Find field and have the displayed transaction searched. For example, you can search for a particular item on the transaction. If a match is found, the value you entered is highlighted on the transaction. Note: The Find feature is only supported on receipts.
Find Next<F4>The Find Next feature will stop at the next occurrence of the data that is being searched for. Each time the key is pressed, the system will try to locate the next value. Note: The Find Next feature is only supported on receipts, and only if you use the single column view for displaying receipts (determined in Options Configuration).
NextThe Next <F7>button will scroll forward to the next window of information. If you are viewing a lengthy receipt or multiple page invoice, press the Next button to view the additional information.
Previous<F8>The Previous button will scroll backward to the previous window of information. If you are viewing a lengthy receipt or multiple page invoice, press the Previous button to view the additional information.
Misc<->The Misc button displays the E4WDI Selection menu (Eagle for Windows Document Imaging Selection menu) , which allows you to switch views between the receipt and invoice view if a receipt and invoice exist for the transaction. You are also able to access the Electronic Journal from this menu.
Print <F12>The Print button will print a copy of the displayed transaction to the following printers.
Receipt--A copy will print out to the Receipt Printer defined in Device Configuration for this Eagle for Windows PC.
Invoice--A copy will print out to the Invoice Printer defined in Device Configuration for this Eagle for Windows PC. If the printer is a laser printer, the form, detail and electronic signature will print.
Document Management is not available for the ISC operating system.
Trademark Information