To enable your security for Eagle Mobile, from the Eagle Mobile main menu, tap Signon, and enter your User ID and Password when prompted.
![]()
If the terminal record on the Eagle is set up to use Special Security, you will automatically be prompted to sign on to Eagle Mobile.
(Multistore users only) If you want to change the store in which you'll be working, tap Tools and select Change Store. When the list of stores displays, tap the appropriate store, and then tap OK.
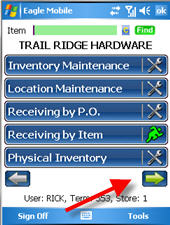
From the Eagle Mobile main menu, tap Item Lists. If you don't see it listed, tap the forward arrow to display the rest of the selections.
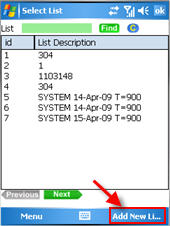
From the Select List screen, tap Add New List to create a new Item List.
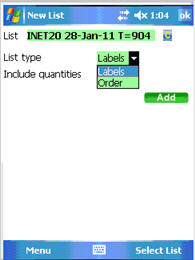
From the New List screen, do the following:
At List, leave the name that the system assigned to the Item List, or type a new name you will easily remember.
At List Type, select whether you want the new list to be for Labels or Orders.
At Include Quantities, select Yes or No, depending on whether or not you intend to enter order quantities in the Item List you create.
Click Add.
If you are not entering quantities, add items to the list by scanning them one after another. When you have scanned the last item, tap Add. This is the quickest method for creating an Item list.
If you are entering quantities, scan the item, enter the quantity, and tap Add. Repeat as necessary until all items are entered.
If you can't scan the items, you can type an item's SKU number, press Enter to display it, enter the quantity (if applicable), then tap Add to add the item to the list. You can also search for items by entering the item's UPC code and then tapping Find; when the item displays, tap Add to add the item to the list.
When you are ready to print the labels, tap Details and select Build Label Manager File.
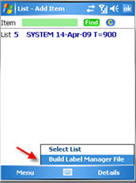
The system builds the label import file, and lists the name of the label file it created. You will need this name to print the labels.
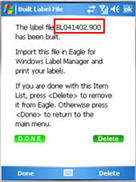
Tap Done to save the list for future label printing, or tap Delete if you won't be using this list again.
Use the Import method in RLA/RBL to print the labels.