(Epicor Eagle™ Labels for Windows users only)
The procedure below explains how to add a border to a label (i.e. sign) you create with the Labels for Windows application. A border can be added to a whole page (for example, when you create a sign). If you want to add a box around each individual label on a sheet of labels, click here to go the help topic for that procedure.
Display the label design to which you want to add a border. Keep in mind that the border prints around the entire page, so borders are only useful if you are printing a single label per page (i.e. you are creating signs for your business).
If the label design is locked, unlock it.
Click Pg Format. The Page Setup Options dialog box displays.
Enter 1 in both the Columns and Rows boxes, then click Borders.
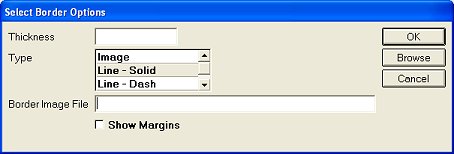
In the Select Border Options dialog box that displays, fill in the fields.
For more information about a field, click any of the following.
Save your label design to preserve the border you just added.