Using Gift & List Registry - Registrant
This topic covers the following information pertaining to the registrant. Click on a link below to jump to the desired section.
Creating a new Registry
Add Items to the Registry
Import Items from a Project
Import Items from a List
Recording a Purchase
View Purchases
Share on Social Media
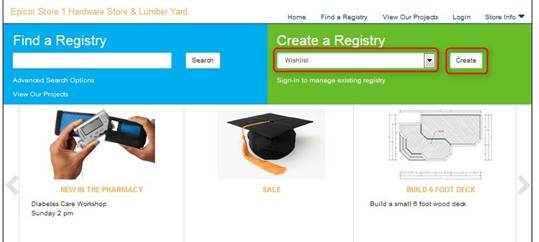
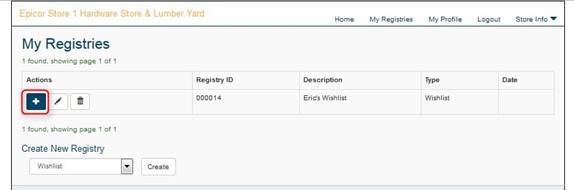
Creating a new Registry
- From the homepage, select the type of registry you wish to create and click the Create button.
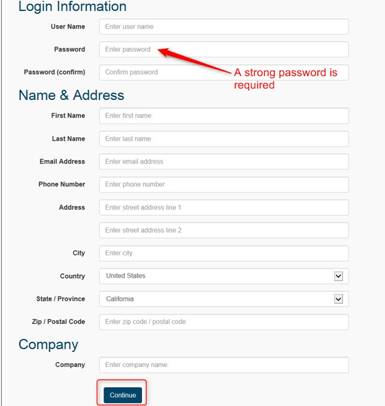
- You will be prompted to enter your information. Fill in all of the fields and click Continue.
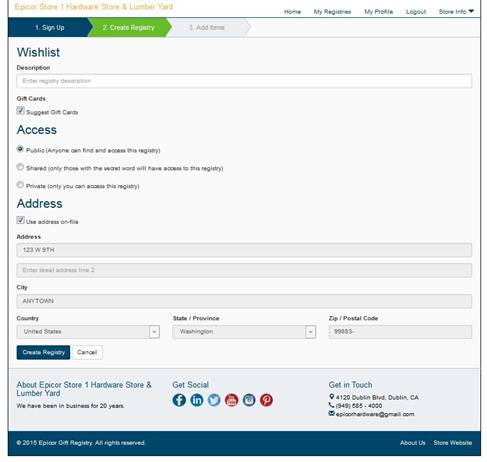
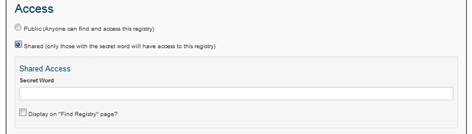
- Add description, set access, and click the Create Registry button.
-
- Public – Anyone can find and access the registry.
- Shared – Only those who know the “secret word” can access the registry.
- Private – Only the Registrant can access the registry.
- If you selected Shared Access, the following information will appear. Fill in the Secret Word (for others to access) and click on the checkbox if you want the registry to appear on the “Find Registry” page.
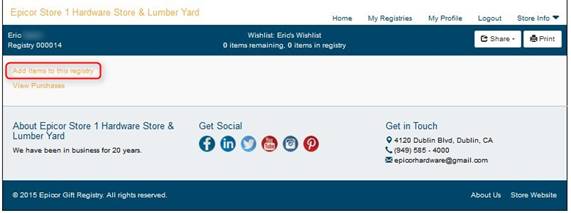
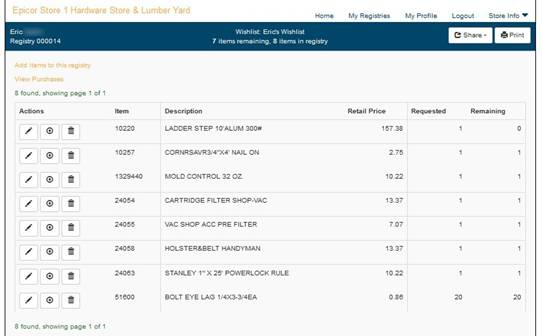
Add items to the registry
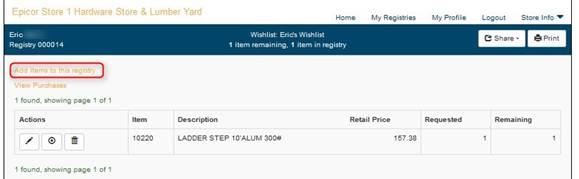
- Once you have created a registry, click on the Add items to this registry link.
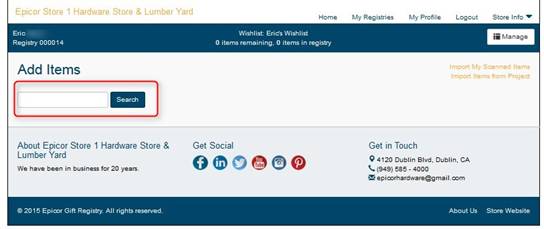
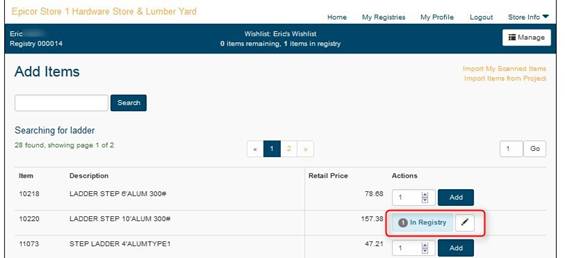
- Search for items by description or SKU.
- A list of items matching your description will appear. Locate the item you wish to add and click the Add button, or modify the quantity and click the Add button.
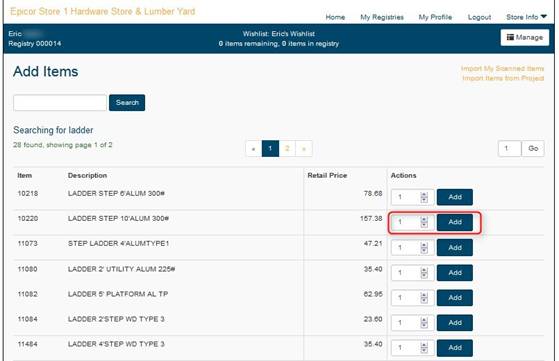
- The message “1 in Registry” (or the quantity you chose) will appear. You can click the Edit button
 to remove the item or modify the quantity.
Import Items from a Project
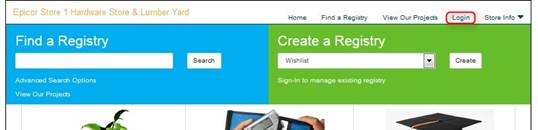
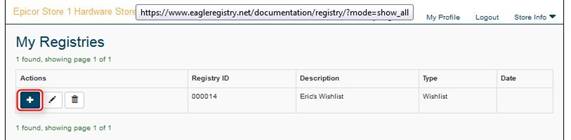
- From the Registry Homepage, click the login link and enter your username & password.
- Click on the My Registries link, then click on the Modify button
 .
.

- Click on Add items to this registry.
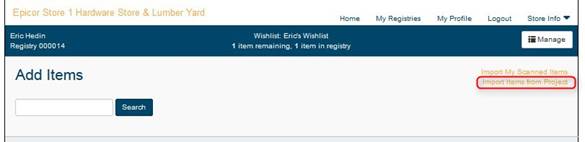
- Click on Import Items from Project.
- The project list will display. Click the View Items button
 next to the project you wish to add.
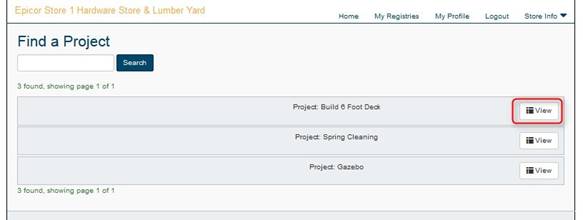
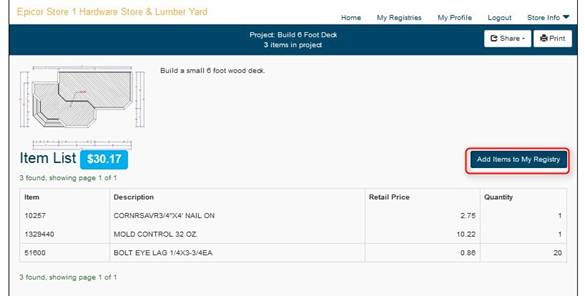
- The components of the project will display. Click the Add Items to My Registry button.
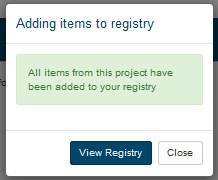
- You will receive the following message confirming the project was added.
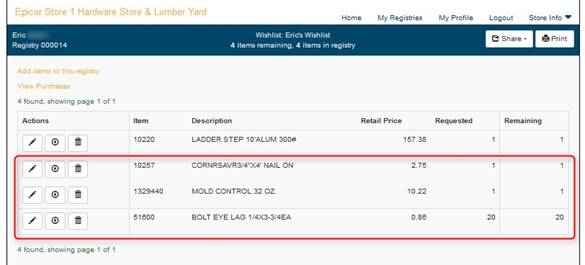
- If you click on View Registry, the registry will display updated with the components of the project.
Import Items from a List
- An item list can be created by hand, or by using an RF (Mobile) device. Follow the instructions below to import an Eagle list into a registry.
- Login from the homepage and click on the My Registries link. Locate the registry you wish to update and click the Modify button .
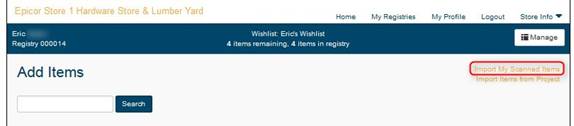
- Click on the Add Items to this registry link.

- Click on Import My Scanned Items.
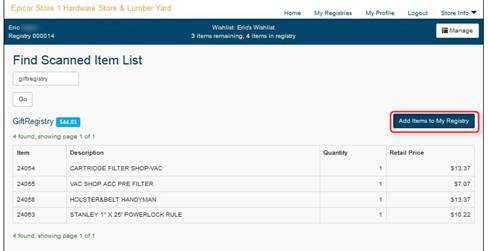
- Type the name of the scanned list in the Find Scanned Item List field and click Go.

- Click on Add Items to My Registry.
- You will receive the following message confirming the list was added.
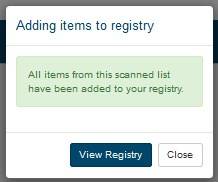
- If you click on View Registry, the registry will display updated with the components of the list.
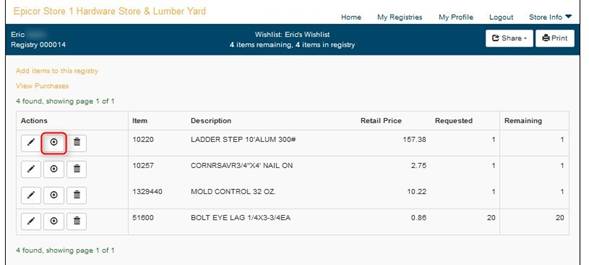
Recording a Purchase
- View your registry by clicking the Login link on the homepage, entering your username & password, and then clicking on the My Registries link.
- Click the Modify button next to the desired registry.
- Locate the item you wish to mark as purchased, and click the Record Purchase button
 .
.
- You will be prompted to enter the quantity purchased, Name (optional), and Email (optional). Click Record Purchase when you are finished.
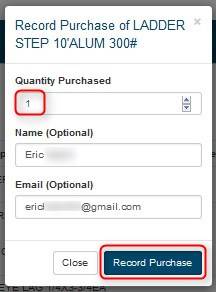
- The screen will refresh and the list will be updated with the current remaining amount.
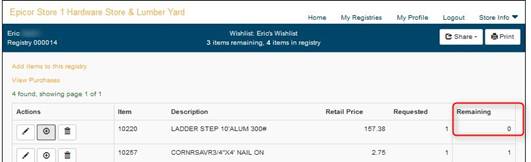
View Purchases
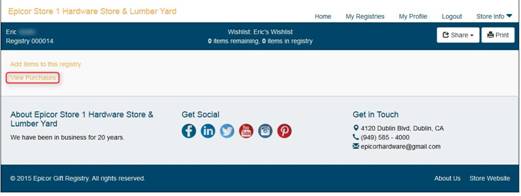
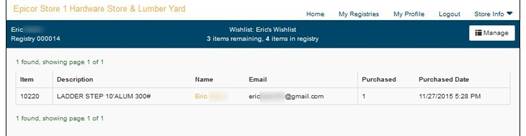
- To view a list of registry items that have been purchased, retrieve the desired registry and click on the View Purchases link.
- A list of all the items from the registry that have been purchased will display along with the purchase quantity, date, & time.
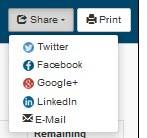
Share the list on Social Media(i.e. post to Facebook Timeline)
- View your registry by clicking the Login link on the homepage, entering your username & password, and then clicking on the My Registries link.
- Click the Modify button next to the desired registry.
- While viewing the registry, click on the Share button.
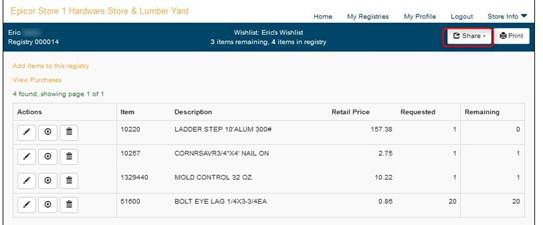
- Click on the desired social media link and post the registry.