This procedure explains what happens in POS when you tender a check from a customer who has previously written a bad check. If you haven't already set up the Bad Check List feature, see the topics "Bad Check List: Options and Security" and "Add and Maintain Back Check List Records."
Create the POS transaction as you normally would.
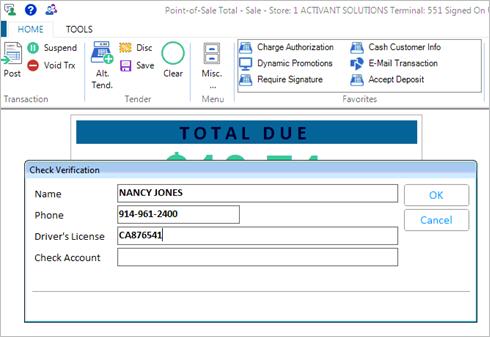
When you total the transaction and tender a check, you are presented with the Check Verification dialog. Fill in as much information as you have about the customer (name, phone number, driver's license number, etc.)
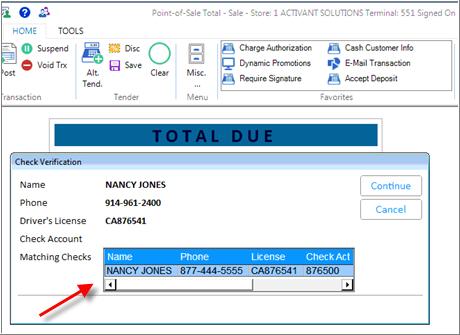
If any of the information you entered in the Check Verification dialog matches a bad check record(s) in the Bad Check List, the bad check record(s) displays.
Do one of the following:
To cancel the check payment so you can accept a different form of tender, press Down Arrow to highlight the cancel button, and press Enter.
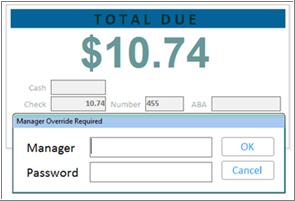
To proceed with the check payment, press Enter to Continue. If you have security bit 776 which allows you to bypass the bad check warning, you are now finished with the transaction. If you don't have security bit 776, you must obtain a manager's override in order to finish the transaction.